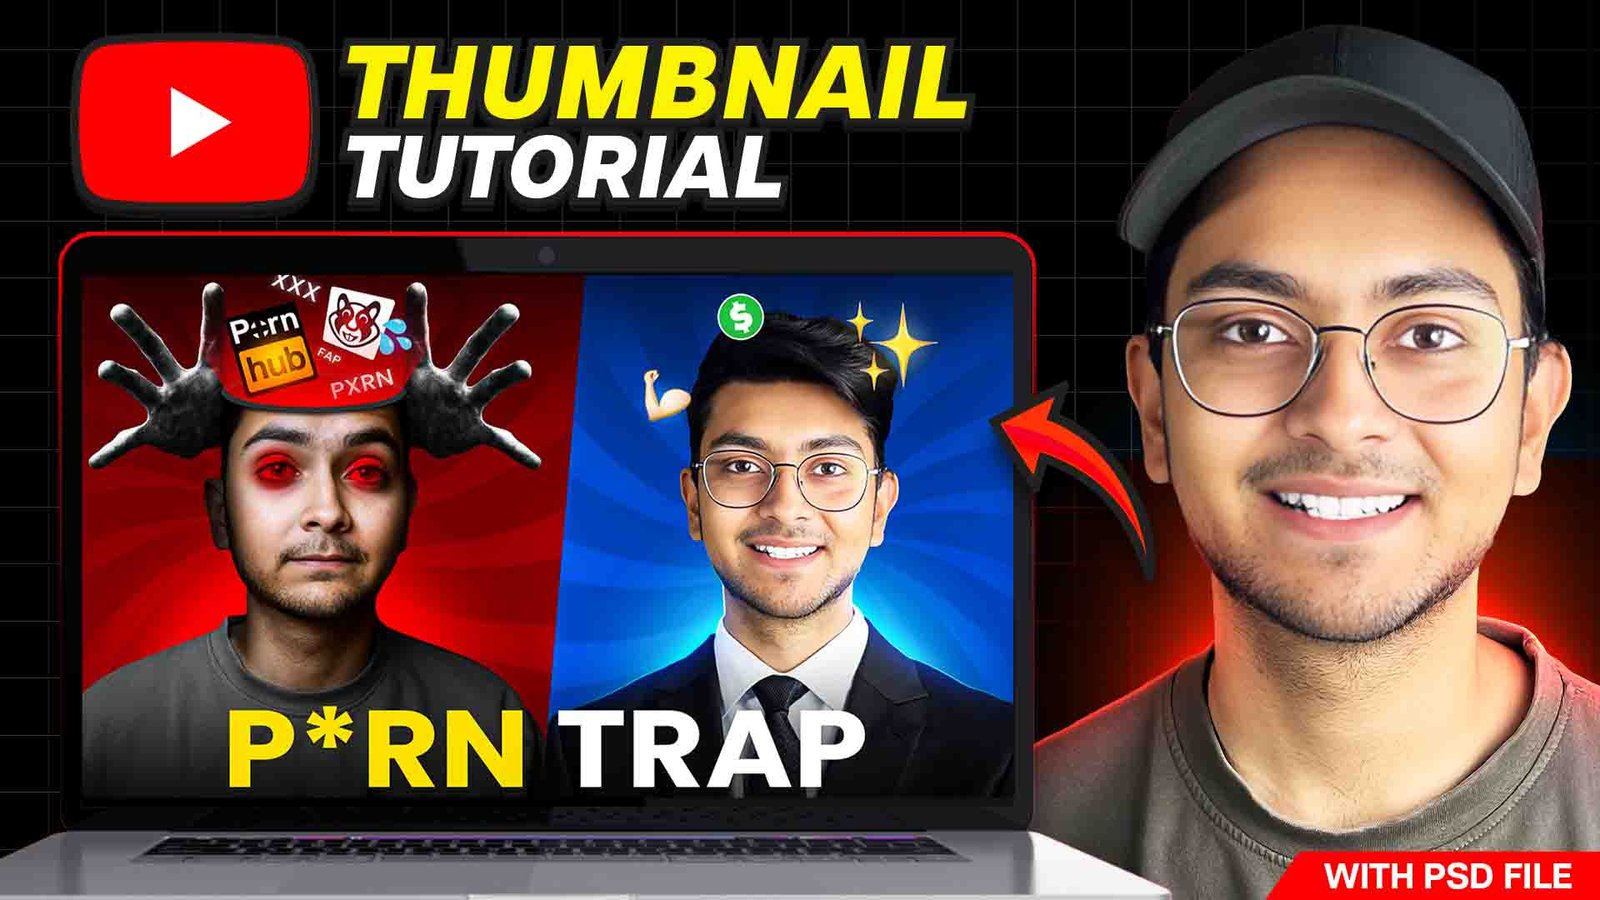
Creating an appealing thumbnail is crucial for grabbing viewers’ attention on platforms like YouTube. A well-designed thumbnail can significantly increase click-through rates, leading to more views and engagement. Here’s a step-by-step guide to creating a professional self-help thumbnail in Photoshop.
Step 1: Set Up Your Canvas
- Open Photoshop and create a new document.
- Set the dimensions to 1280 x 720 pixels, which is the standard size for YouTube thumbnails.
- Set the resolution to 72 pixels/inch, which is optimal for web graphics.
Step 2: Choose a Background
- Select a background color or image that aligns with your self-help topic. For instance, a calming blue or a motivational landscape can set the right tone.
- To add an image, go to
File > Place Embedded, choose your image, and adjust it to fit the canvas.
Step 3: Add Your Main Subject
- If you’re using a photo of yourself or a person, cut out the subject using the Quick Selection Tool or the Pen Tool.
- Once selected, click
Layer > New > Layer Via Copyto create a new layer with just the subject. - Place the subject prominently on the canvas, slightly off-center for better composition.
Step 4: Add Text
- Select the Text Tool (T) and click on the canvas to start typing.
- Choose a bold, readable font. Sans-serif fonts like Arial or Helvetica work well.
- Keep the text concise. Use keywords that convey the essence of your video. For example, “Boost Your Confidence” or “Achieve Your Goals”.
- Adjust the font size and color to ensure the text stands out against the background. Use contrasting colors for better visibility.
Step 5: Enhance with Graphics
- Add shapes or icons to enhance your design. For instance, use arrows, circles, or motivational symbols like stars.
- Use the Shape Tool to draw shapes and fill them with colors that complement your theme.
- Layer and arrange the graphics to ensure they don’t clutter the thumbnail but add to its appeal.
Step 6: Apply Effects
- Add a drop shadow to the text and subject to make them pop. Right-click on the layer and select
Blending Options > Drop Shadow. - Adjust the opacity, distance, spread, and size to achieve a subtle but effective shadow.
- Consider using a gradient overlay or a vignette effect to draw attention to the main content.
Step 7: Final Adjustments
- Zoom out to see the thumbnail at a smaller size. Ensure all elements are readable and visually appealing.
- Make any necessary tweaks to colors, positioning, and effects to finalize your design.
- Save your work by going to
File > Export > Save for Web (Legacy)and choosing JPEG or PNG format.
Conclusion
Creating a self-help thumbnail in Photoshop involves a blend of creativity and technical skill. By following these steps, you can design a thumbnail that not only looks professional but also attracts viewers to your content. Remember, the key is to keep it simple, bold, and aligned with your video’s message. Happy designing!
Software Required – Adobe Photoshop
(Please Allow pop-ups and new windows for this website to download)