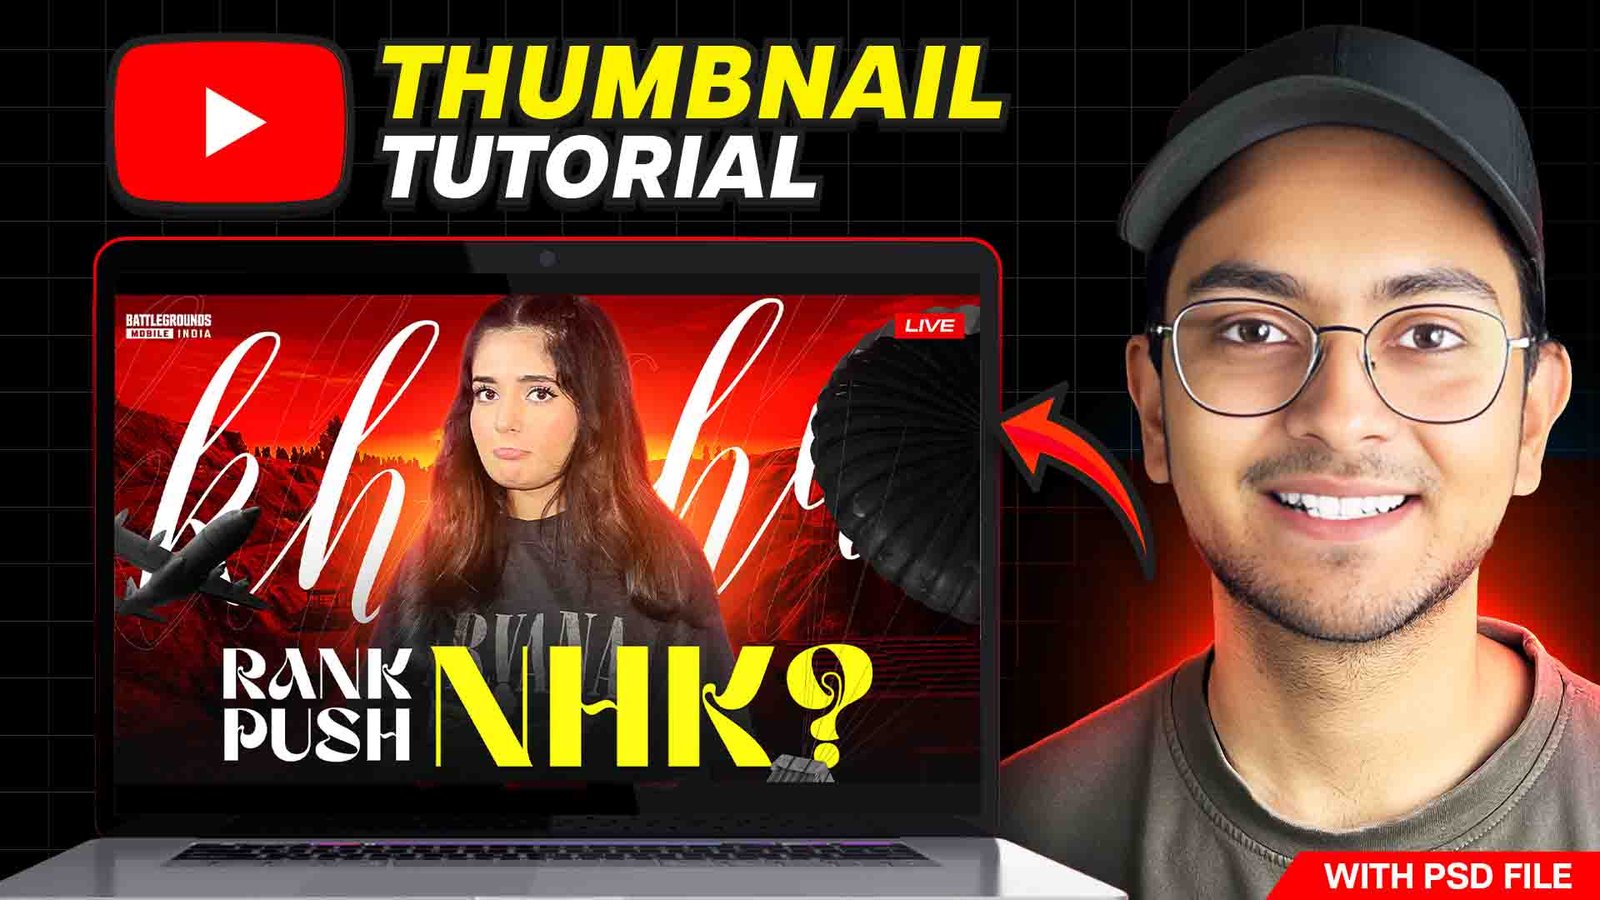
Creating an eye-catching thumbnail is crucial for attracting viewers to your gaming videos. A well-designed thumbnail can make your content stand out in a crowded market, enticing potential viewers to click and watch your video. In this blog, we’ll walk you through the steps to create a compelling gaming thumbnail in Photoshop.
Step 1: Set Up Your Canvas
- Open Photoshop and create a new document.
- Set the dimensions to 1280×720 pixels. This is the standard size for YouTube thumbnails.
- Set the resolution to 72 pixels/inch, which is sufficient for web images.
Step 2: Choose Your Background
Your background sets the tone for the thumbnail and should be visually appealing.
- Select a background image that is relevant to the game you’re showcasing. You can find high-quality images on sites like Unsplash, Pexels, or even take a screenshot from the game.
- Drag and drop the image into your canvas.
- Resize and position it to cover the entire canvas. Use the
Transformtool (Ctrl+TorCmd+Ton Mac) to adjust the size and angle if necessary.
Step 3: Add Game Elements
Including recognizable elements from the game can make your thumbnail more appealing to fans.
- Extract game characters or objects from screenshots. Use the
Quick Selection ToolorPen Toolto cut out characters. - Paste the extracted elements onto your canvas. Place them strategically to draw attention. You might want to position the main character or an iconic object in the center or along the rule of thirds for a balanced composition.
- Add a shadow or glow effect to make these elements stand out. Go to
Layer Style>Drop ShadoworOuter Glowand adjust the settings to your preference.
Step 4: Incorporate Text
Text is vital for conveying the video’s message quickly.
- Select the Text Tool (
T), and click on your canvas to start typing. - Choose a bold, readable font that fits the game’s theme. Fonts like Impact, Bebas Neue, or any strong sans-serif font work well.
- Type your headline – it should be concise and engaging. Use keywords that are relevant to the content of your video.
- Adjust the font size and color to ensure the text is readable against the background. Bright, contrasting colors often work well.
- Apply a stroke or shadow effect to the text for better visibility. Go to
Layer Style>StrokeorDrop Shadow.
Step 5: Fine-Tune Your Design
- Balance the elements on your canvas. Make sure nothing looks too crowded or too sparse.
- Adjust the colors and brightness of your elements to ensure they are cohesive. Use adjustment layers like
Brightness/Contrast,Hue/Saturation, andColor Balancefor fine-tuning. - Add any additional effects such as lens flares, light streaks, or other overlays to enhance the visual appeal.
Step 6: Save Your Thumbnail
- Go to File > Export > Save for Web (Legacy).
- Select JPEG format and adjust the quality slider to 100%.
- Click Save and choose your destination folder.
Tips for a Successful Gaming Thumbnail
- Be Consistent: Use a consistent style across your thumbnails to build brand recognition.
- Highlight Faces: If possible, use facial expressions to convey emotion and draw viewers in.
- Keep It Simple: Don’t overcrowd your thumbnail with too much text or too many images. Clarity is key.
- Test and Iterate: Pay attention to which thumbnails get the most clicks and try to understand why. Continuously refine your approach based on what works best.
By following these steps, you’ll be able to create professional, eye-catching thumbnails that attract viewers to your gaming videos. Happy designing, and may your content thrive with higher engagement!
Software Required – Adobe Photoshop
(Please Allow pop-ups and new windows for this website to download)